Peach Hand Pies Recipe
Introduction
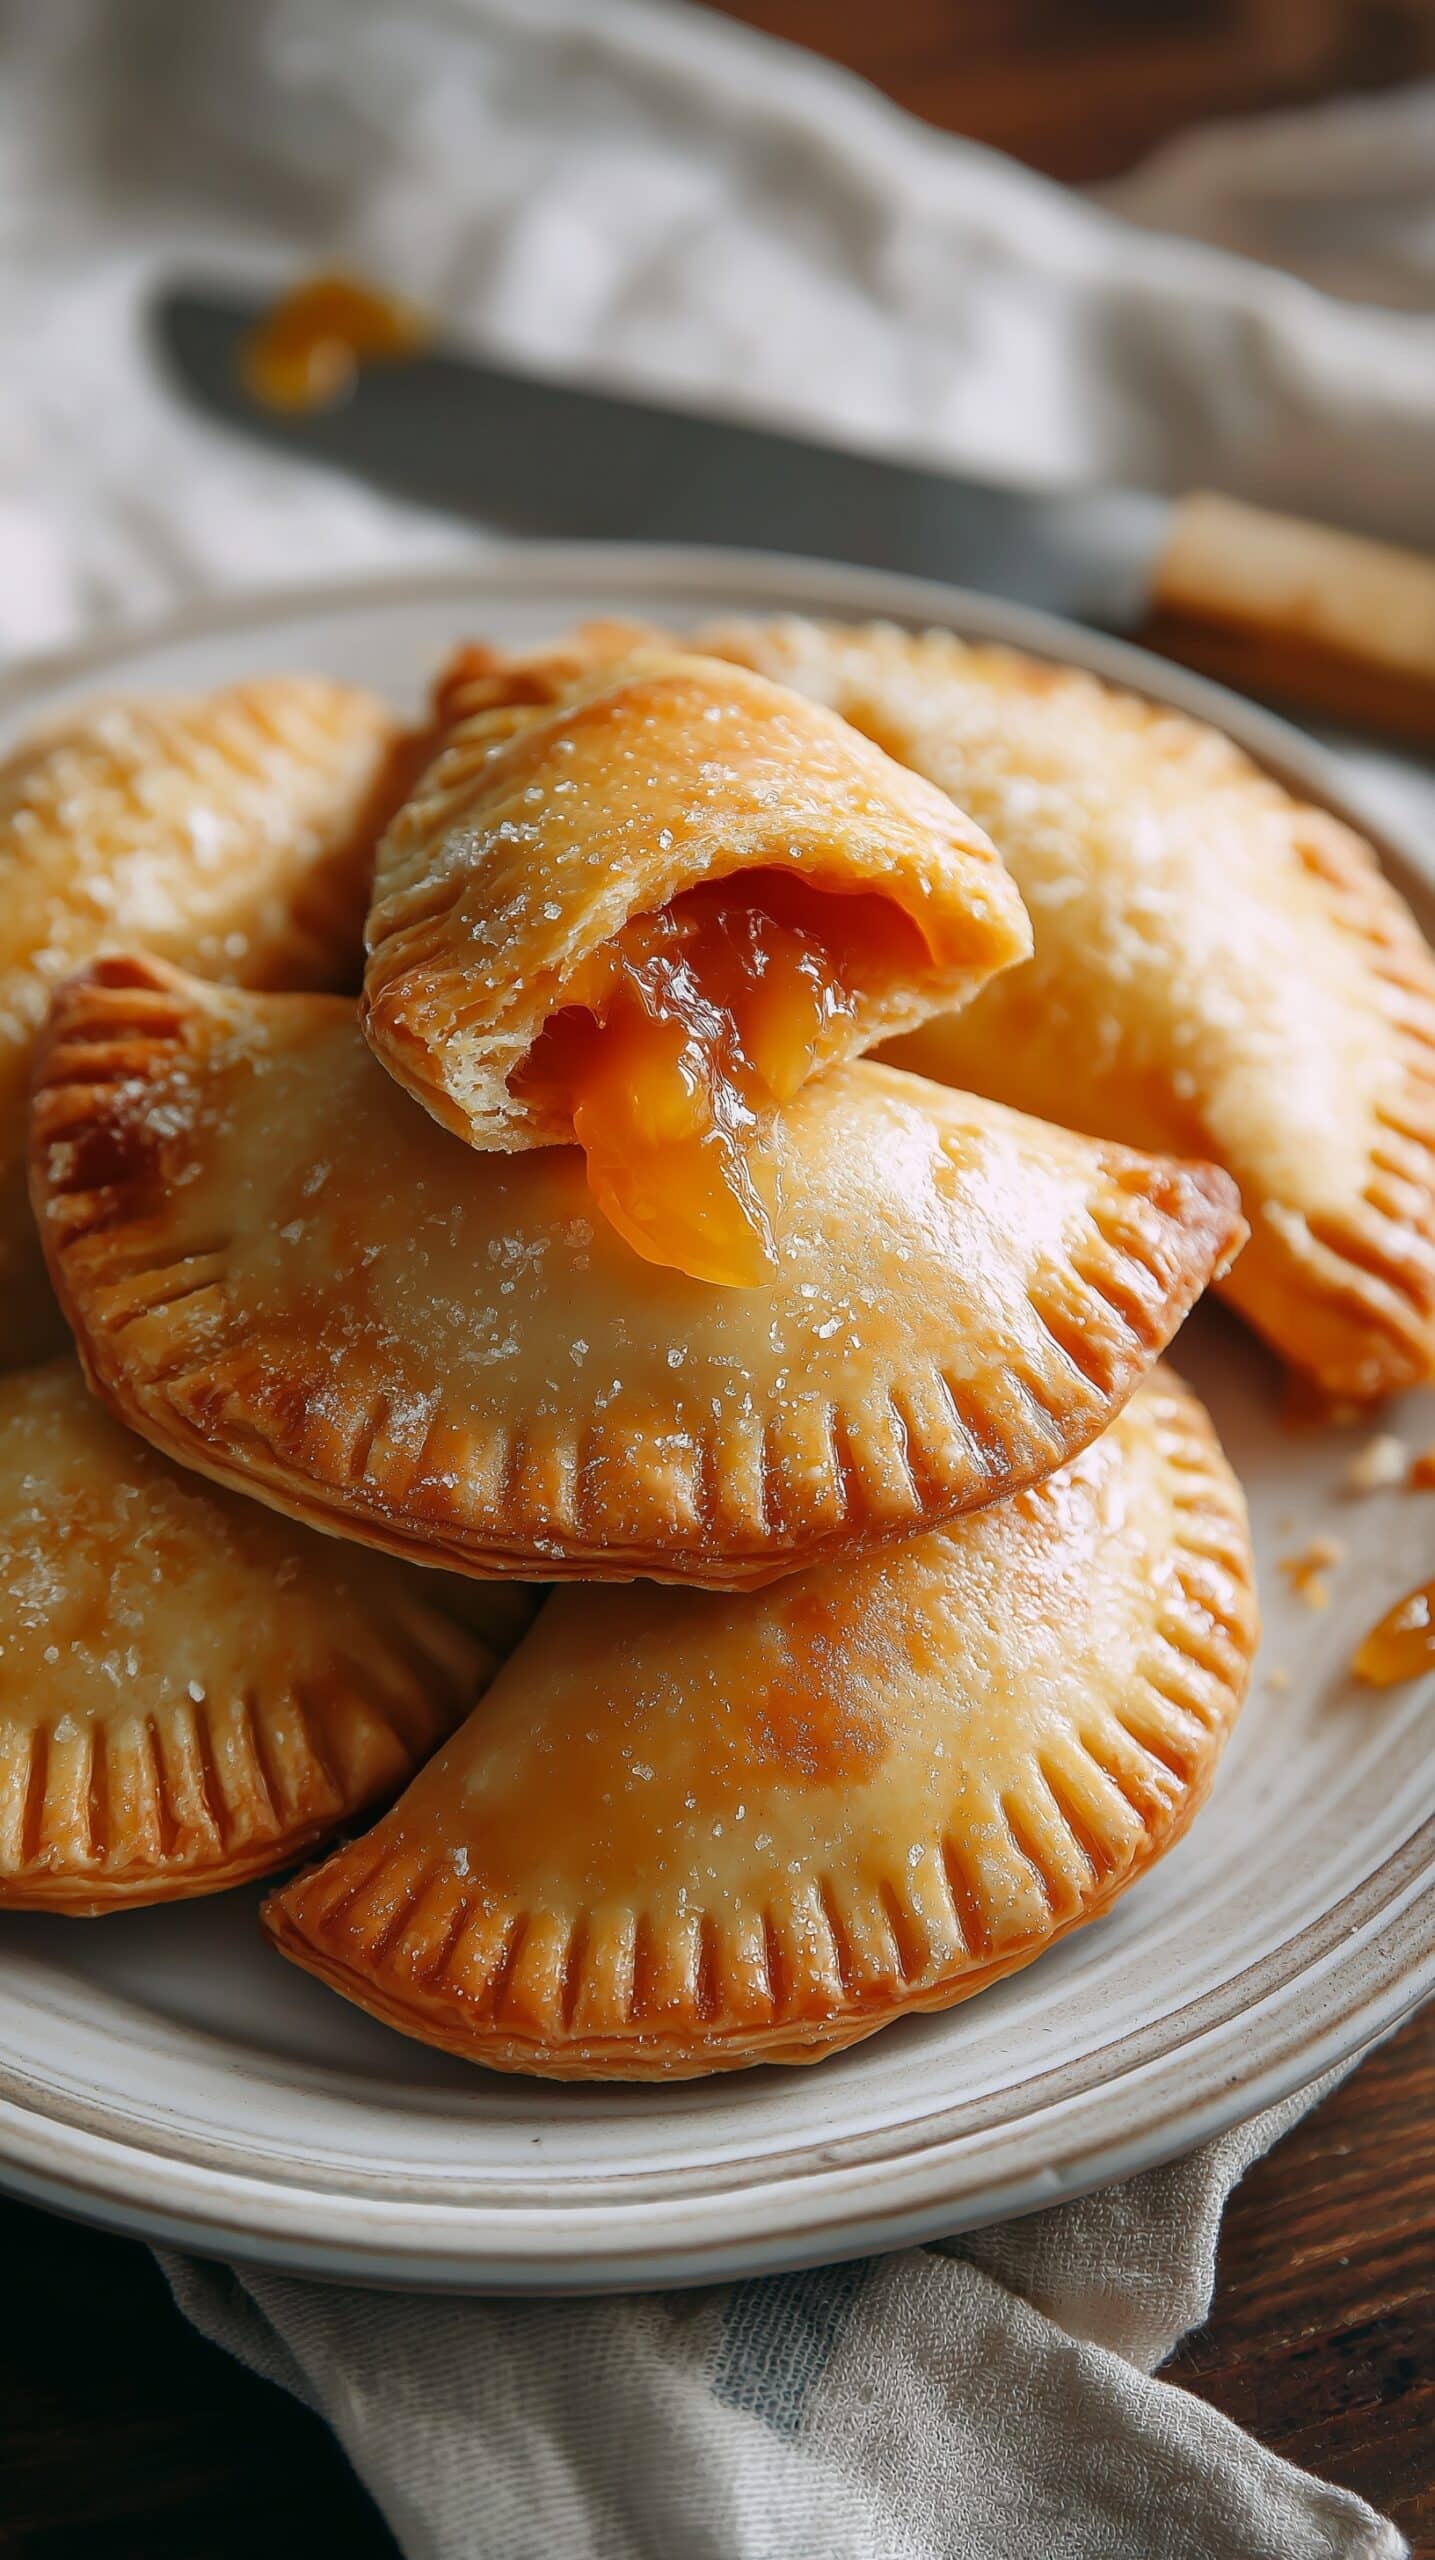
Peach hand pies are a delightful treat featuring a flaky pie crust filled with sweet, spiced peach filling. Perfect as a snack or dessert, these individual pies combine comforting flavors with an easy-to-make handheld form.
Ingredients
- 1 package store-bought refrigerated pie crust (2-count)
- 16-ounce (1 lb) bag frozen sliced peaches
- 2 tablespoons unsalted butter
- 1/4 cup packed light or dark brown sugar
- 1 teaspoon vanilla bean paste or 2 teaspoons vanilla extract
- 1/4 teaspoon ground cinnamon
- 1/4 teaspoon ground nutmeg
- 1/4 teaspoon ground cardamom
- 1 tablespoon freshly squeezed lemon juice
- Pinch of salt
- 1 teaspoon cornstarch, mixed with 1 tablespoon water
- 1 large egg, mixed with 1 tablespoon water (egg wash)
- 1/4 cup granulated sugar
- 1 teaspoon ground cinnamon
- Vanilla bean ice cream, for serving (optional)
Instructions
- Step 1: Preheat the oven to 400°F and position the oven rack in the center. Line a large baking sheet with parchment paper, foil, or a silpat liner and set it aside.
- Step 2: Take the pie crust out of the refrigerator and let it come to room temperature while preparing the peach filling.
- Step 3: In a medium saucepan over medium heat, add the frozen peaches. Toss them occasionally until they begin releasing their juices, about 5-6 minutes.
- Step 4: Add the butter and cook, stirring until melted, about 2-3 minutes. Then stir in brown sugar, vanilla, cinnamon, nutmeg, cardamom, lemon juice, and salt. Cook, stirring often, until peaches are soft and tender, about 10-15 minutes.
- Step 5: Gently mash the peaches using a potato masher or similar tool, breaking down large chunks but keeping some texture.
- Step 6: Add the cornstarch slurry to the peach mixture, stir to combine, and cook for another 1-2 minutes until thickened. Remove from heat and let cool.
- Step 7: On a lightly floured surface or parchment paper, roll out the pie crust if needed. Use a 3.5-inch round cutter to cut out circles, about 8-10 per sheet. Collect scraps to re-roll and cut more circles.
- Step 8: Place half of the dough circles on the prepared baking sheet. Use a knife to cut slits in the center of the remaining circles for venting, and set aside.
- Step 9: Spoon about a tablespoon of cooled peach filling onto each whole dough circle. Brush the edges with egg wash, then place a slit dough circle on top. Press edges to seal and crimp with a fork. Brush tops with egg wash.
- Step 10: Repeat assembling the remaining hand pies until all filling and dough are used.
- Step 11: Mix granulated sugar and cinnamon in a small bowl. Sprinkle evenly over the hand pies.
- Step 12: Bake for 12-15 minutes until golden brown. Let cool for 5 minutes before serving. Enjoy warm, optionally with vanilla bean ice cream.
Tips & Variations
- Use fresh peaches in season for an extra vibrant flavor, adjusting cooking time as needed to soften them.
- Add a pinch of ginger or allspice to the filling for a warm spice twist.
- Brush tops with milk instead of egg wash for a dairy-free version.
- For extra crispiness, chill assembled pies in the fridge for 15 minutes before baking.
Storage
Store leftover hand pies in an airtight container at room temperature for up to 2 days, or refrigerate for up to 4 days. Reheat in a warm oven for a few minutes to refresh the crust. These pies can also be frozen before baking—freeze on a tray, then transfer to a bag. Bake from frozen, adding a few extra minutes to the baking time.
How to Serve
Serve this delicious recipe with your favorite sides.
FAQs
Can I use fresh peaches instead of frozen?
Yes, fresh peaches work wonderfully when in season. Peel and slice them before cooking, and you may need to reduce cooking time slightly since fresh peaches release less juice than frozen.
Do I need to prick the top crust of each hand pie?
Yes, cutting slits in the top dough circles allows steam to escape during baking, preventing the pies from bursting and helping the filling thicken properly.